Showing posts with label Food. And lots of it.. Show all posts

Wednesday, August 22, 2012

Chocolate Banana Muffins and the Mixing Bowl.

It's my party, and I'll cry if I want to . . . cry if I want to . . . cry if I want to . . .

Raise your hand if you just sang that with me.

I was four years old when that was a hit, and though it's not my party, it is my birthday, so in honor of myself, I got up early this morning and made these amazing muffins. Just because I wanted them. I had visions of enjoying a hot muffin on the deck in this lovely fall weather with my mug of coffee. I saw myself reveling in the wonder of my 51 years on this planet, thinking back fondly on all I've accomplished, and dreaming of what is still to come.

But real life had other plans. Garmins die, and daughters are stranded in the Mixing Bowl of the Capital Beltway. And if you think that's not really a place, here's an actual, unretouched aerial view of the Mixing Bowl:


Anyone who lives here knows the fear that grips your guts when you get in the 395 lane when you're trying to go toward Tysons Corner. It could take you half a day to get back. There are no U-turns and cars and trucks are racing past you, dodging and darting at 80+ miles per hour. Or you're on Backlick and suddenly it turns into Franconia Drive and you're being funneled into the Metro Kiss-and-Ride lot and you never saw it happen. I know people who have lived here for years who still don't know that the inner loop travels clockwise and the outer loop goes counterclockwise. It's such a jumbled mess of high-speed traffic it creates its own force field. And people wonder what's wrong with Washington. 

Anyway, it's quite intimidating for the directionally challenged. So I enjoyed my muffin and coffee while jumping back and forth through three computer screens, all of which had different Google maps open on them, and we finally got her to her destination. I have no idea how she's getting out of there.

Back to the muffins. I wanted to share this recipe, which I stole from my daughter's website, Wholesome Homemaker. If you make these, your people will love you, I promise.

Start with this stuff in a bowl


Then do this


to two of these


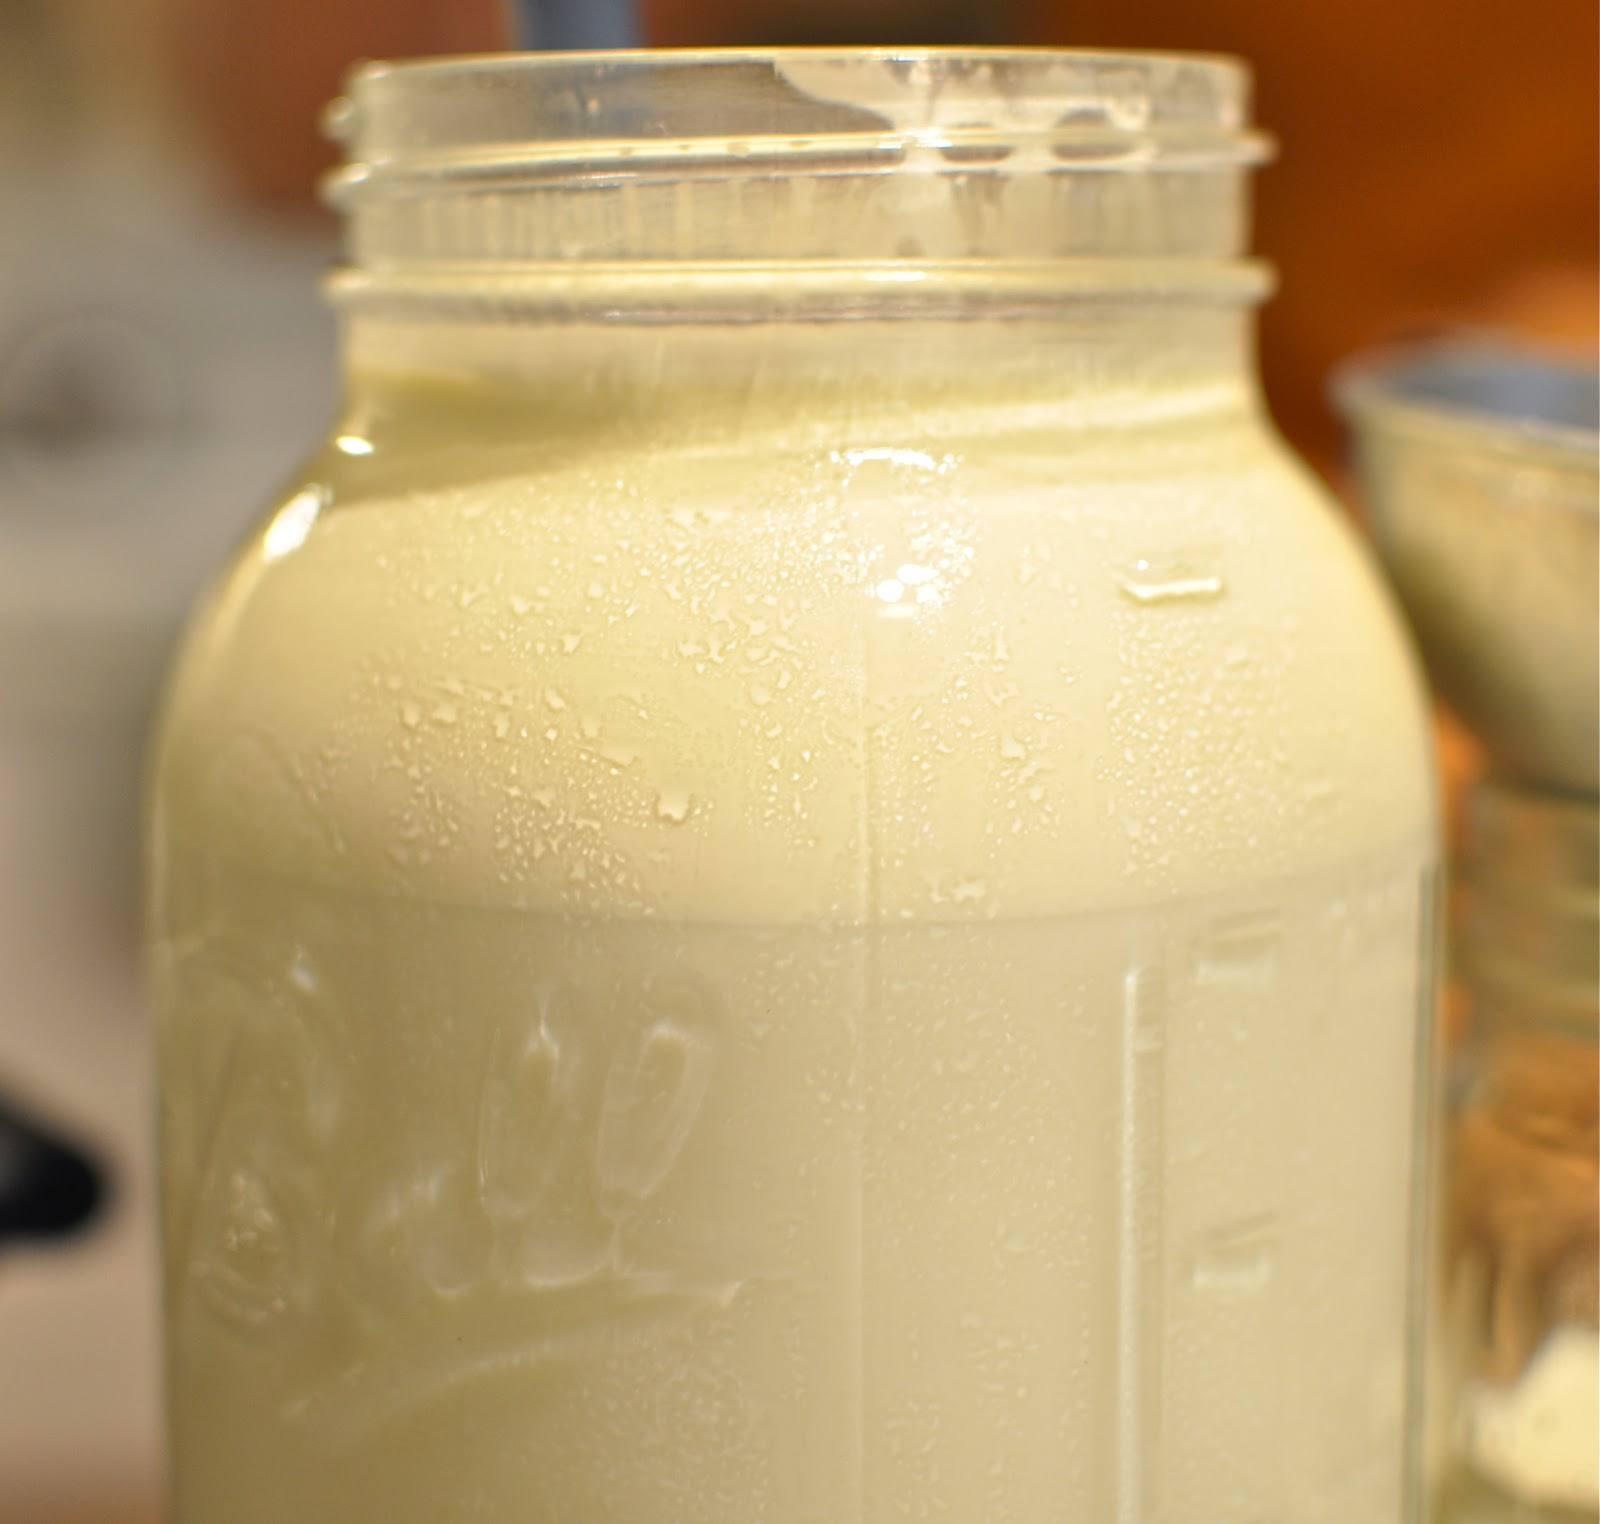
and stir them up with this


Pour it into the first stuff


and do this


just until it looks like this


Do this


and end up with these!


Aren't you glad I shared this? You can get the particulars here. Now get your coffee ready!

Be thankful ~

Friday, August 17, 2012

My new favorite blog.

When my children were little, I loved teaching them things. I taught them to pee in the potty, how to sit quietly in church, and how to calculate the volume of a triangular solid using pieces of cake. I loved teaching them. It was my full-time job. So when it came to an end a little more than a year ago, I thought I might miss it. I was surprised to find out that not only do I not miss it, but now that I'm out of teaching mode, I'm learning more than ever from them. They have become the teachers!

Whenever I have a technology-related question, I call Mike. When I need help with photography or decorating or anything artsy, Abbey is my go-to girl. If I'm having trouble with a workout, I ask Man-squared. And Leah helps me understand politics while she's doctoring me with herbs.

But when I want advice about cooking? Deb is the guru. She knows so much more than I do, and she's so much braver about trying things than I am. When she got married, she knew she wanted to feed her family "real food" rather than processed junk, and she has made a career of it.

A few months ago, she began building a website called Wholesome Homemaker where she shares recipes and helpful advice about cooking and eating real food. Real food that real people will cook. I just found it today. She's been trying to lay a strong foundation for her website, so she didn't tell many people about it, but after spending an hour reading recipes and advice, I told her she needed to share it.

So I'm doing my part by directing you there, but be prepared to drool. Her writing and pictures and recipes make me want to run to the kitchen and get started.

This will be tomorrow's breakfast.

This and this will be made one night next week.

And this sounds pretty amazing.

So go look around. You'll surely find something that makes you want to cook. And you'll get to see a few pictures of my grandbabies, and what could be better?


Be thankful ~


Tuesday, July 31, 2012

Bring me the churn, Pa.

I have been quite Suzy Homemaker-ish the last few days. (Raise your hand if you remember Suzy Homemaker toys. I had the kitchen sink and the iron. No wonder I hate dishes and ironing today.)

Anyway, I finished putting together Abbey's quilt this morning. We make quilts the easy way—by stacking the batting, backing, and top, stitching most of the way around, turning it all right-side out, then closing up the hole. Then I tacked it at each corner, and she's good to go. If you're a quilting purist, don't look at my beds. Abbey intends to hand quilt a design in each big square, but at least it's usable while she's procrastinating, and that's what's important to her.

Then I decided I would try my hand at homemade ricotta cheese. We avoid a lot of cheese because Abbey is so sensitive to the garbage that gets fed to and injected into commercial cattle, but we get raw milk from a farmer, so I thought I'd give it a whirl.

First, I get my milk in half-gallon mason jars, like this:


See how the cream rises to the top? Since we're not fans of whole milk, and also since some cows produce more cream than others, I skim some of the cream off and put it in a separate jar. It's good for creamy sauces, coffee, and sometimes I make butter out of it.


What I'm left with is about 2% milk-fat milk.

Now let's make ricotta!

Here's what you need:


Not really all that milk. I just thought it made a pretty picture in spite of the yellow cast and shadows from my kitchen lights. I used 4 cups milk, 2 cups cream, 1 teaspoon kosher salt, and 3 tablespoons white vinegar.

Measure out the milk and cream and pour them into a stainless steel or ceramic coated pot.


Stir in the salt and set the pot over medium heat to come to a boil.


Meanwhile, place two layers of cheesecloth over a colander, and set it over a bowl.


Stir the milk every so often so it doesn't burn, and when it just begins to boil around the edges, remove it from the heat.


Pour in the vinegar, give it a stir, and then leave it alone for a few minutes. In a very short time it will begin to form curds, which will separate from the whey. (One website said to feed the whey to your pets.)

After just two minutes, I could pull the curds away from the whey.


Now dump the whole thing into the cheesecloth-lined strainer. Let it drip however long you want. The longer it drains, the dryer it will be. After 10 minutes, I gathered the cheesecloth up and squeezed gently.

Not only does this smell good while it's in the making, but you can't image the difference in flavor. I don't know if I'll ever buy ricotta again!


This recipe made almost 2 cups. Next time I'll use 6 cups milk, 2 cups cream, 1 tsp. kosher salt, and 3 Tbsp. vinegar to make a little more so I can stand there with a spoon and eat it warm.

Be thankful ~

Monday, January 30, 2012

Pumpkin Scones

One score and five years ago, I gave birth to a beautiful, dark-eyed baby girl who grew up to be a fabulous cook. She is pictured in the sidebar on her wedding day, and also in front of a waterfall in Thailand with her husband. Deb and her family live quite far away from us, so I don't get to see them very often, but when I do, I always come home with new recipes. This is one of them.

Ingredients:

2 cups whole wheat flour (I imagine you could use all-purpose if you wanted to)
6 Tbsp. sugar
1 Tbsp. baking powder
1/2 tsp. salt
1/2 tsp. cinnamon
1/2 tsp. nutmeg
1/4 tsp. ground cloves
1/4 tsp. ginger

6 Tbsp. butter
1/2 cup pumpkin
3 Tbsp. cream
1 egg

Directions:

Combine all the dry ingredients in a bowl. I don't have a picture of this because I like to be just a little mysterious. And I was so excited for scones I forgot to take one.

Cut the butter into the dry stuff. If you have one of those wire pastry blenders, do yourself a favor and go to a restaurant supply store and get a good one that's all stainless steel, where the blades and the curved part are all one piece. I bought this one 15 years ago for $8, and I thank God for it every time I take it out of the drawer. Amen.


Then get out your pumpkin, your free-range egg, and your fresh-from-the-cow cream. If you don't have free-range eggs and fresh-from-the-cow cream, I encourage you to move closer to my friend Kelly, who keeps me supplied with both. Everybody should have a friend like Kelly.


Combine the pumpkin, egg, and cream in a small bowl,


and dump that mixture into the dry ingredients.


Stir just until it holds together. I had to add a few extra dribbles of cream. Then plop it on a floured counter and fold it over a few times, like you would for biscuits. Pat it into one big circle, about 1/2-inch thick.


Cut it into 12 wedges. I used a big knife, but you might try a pizza cutter too.


Transfer your wedges to a parchment-paper lined cookie sheet. Deb also shared with me the delights of parchment paper, which are many, especially when the baking is over and you crumple it up and throw it away, and have a clean cookie sheet. Yes, I'm a fan of the parchment.


Here are my wedges, all laid out pretty-like, ready to be baked at 425° for 14-18 minutes. Mine took just 14.


While they're baking, stir together a big spoonful of powdered sugar with a little cinnamon, nutmeg, cloves, and ginger. Add enough fresh-from-the-cow cream to make a glaze that's not too thin.


Here's what your scones will look like when they're done—just beginning to brown a little. I let them sit for 10 or 15 minutes so they're not too hot when I glaze them.


Pour the glaze in a baggie and snip a very tiny bit of one corner off,


and drizzle them. I wish you could smell my kitchen right now.


Now go make a pot of coffee. You might want to keep the fresh cream handy for that too.


Be thankful ~

Thursday, April 14, 2011

By-hand directions for the bread.

For those of you who don't use a bread machine to mix the dough, here are the very simple instructions for making Kelly's Whole Wheat and Oat Bread by hand.

1. Pour boiling water over oats in a large bowl. Let stand 30 minutes or until just warm.
2. Dissolve yeast in 1/4 cup warm water.
3. To oat/water mixture, add salt, honey, and oil. Stir in yeast mixture.
4. Add whole wheat flour, 1 cup at a time, until a soft dough forms and you can turn it out onto a floured board or counter and knead 8–10 minutes.
5. Place in an oiled bowl, turning to oil the top, and let rise in a warm place for 45 minutes or so.
6. Punch down and form into loaves. Place in greased 8x4-inch pans and let rise 25 minutes.
7. Bake at 350°F about 30 minutes.

Enjoy! This bread is amazing fresh out of the oven, good for sandwiches, and makes great toast.

Be thankful ~

Karen

Tuesday, April 12, 2011

Kelly's Whole Wheat/Oatmeal Bread

This bread could also be called The New Crack, because I can't stop ingesting it. It's seriously addicting. Last night I made a batch and three of us (Ben, Man-boy, and I) ate half a loaf for dinner. For the record, Man-boy only ate one slice.

I make the dough in my bread machine because I'm lazy like that. And I also forget to take photos. My ability to plan ahead knows no bounds.

Here's what you do:

Put 3/4 cup oats (I use old-fashioned, not quick) in the machine. Pour 1 3/4 cups boiling water over top and let it sit for about 30 minutes, or until it's just warm.

Then add 3/4 tablespoon salt, 3/8 cup honey, 2 tablespoons vegetable oil, 4 cups whole wheat flour, and
1 1/2 tablespoons yeast, in that order. Set the machine for the dough and first rise cycle.

When it beeps, punch the dough down and divide in half. Form into loaves and put in greased 8x4-inch bread pans. Let rise a bit and bake at 350°F for about 30 minutes.

Get the butter handy.

(This recipe has been cut to fit in my bread machine. Kelly makes huge batches to feed her family of 9. I could make that much, but then I'd eat it.)

Be thankful ~

Karen

Tuesday, November 23, 2010

Stella and her cheesecake.

Once upon a time there was a little Italian lady named Stella. She was an honorary member of our family from the time I was a little girl. Stella crocheted us afghans and slippers and scarves and made all manner of delicious Italian foods for us.

And she made cheesecake, bless her heart. This is no nasty Jello number either. It's the real thing—a real, heavy, dense, Italian cheesecake. Stella is gone now, but she left us a rich inheritance. She left us the cheesecake recipe. And I'm going to share it with you.

Start with graham cracker crumbs, sugar, and a sprinkle of cinnamon. 


Stir in the melted butter and press the crumbs onto the bottom and about an inch up the sides of a 10-inch springform pan. You can use a flat measuring cup to make it pretty if you're OCD like me. Or just use your hands. That's what Stella did.


In your mixer bowl, beat the cream cheese until it's softened. Then add 3 tablespoons of flour,


2/3 cup of sugar, 1/4 teaspoon of salt,


and 2 teaspoons of vanilla. Beat it all well and scrape the sides a few times.


Separate 6 eggs.


Add the yolks one at a time to the cream cheese mixture, beating and scraping and beating and scraping.


Make sure you dribble some down the side of the bowl.


 Finally, add 1/2 cup heavy cream. (Edited 7/11/2011: Make that 1 full cup. Go big or go home.) And scrape the sides again. This recipe involves a lot of scraping.


Now beat the egg whites in a big bowl until stiff peaks form. They haven't formed yet in this photo, but you can only do so many things at once and I had to put the camera down so I could hold the beater with my right hand. I don't know how left-handed photographers function.


Now gently, gently, fold the egg whites into the cream cheese mixture. Or the other way around if you want. It's a free country.


Pour the batter into the crust. I would say scrape the bowl clean, but then there wouldn't be any left to eat raw and that would be a tragedy. (Yes, I know about the dangers of eating raw eggs. For cheesecake batter I'll take my chances.)


Bake for one hour. When you first open the oven door the cheesecake will be taller than the pan. It sinks down a little as it cools. Turn the oven off and open the door a crack and leave it there to cool.


Your house will smell heavenly and you will be tempted to dig in right away. DON'T DO IT!

Step away from the cheesecake!

Cover it well with plastic wrap (leave it in the pan) and refrigerate until the next day. Tomorrow it will be perfect. It's best eaten for breakfast with a cup of coffee.

If I remember, I'll take a photo of a piece on Thursday. Enjoy!

Here are the amounts:

Crust

1 1/2 cups graham cracker crumbs
1/3 cup sugar
cinnamon
1/4 cup melted butter

Filling

3 (8-oz) blocks cream cheese
3 tablespoons flour
2/3 cup sugar
1/4 teaspoon salt
2 teaspoons vanilla
1 cup heavy cream
6 eggs

Be thankful ~

Karen

Monday, November 22, 2010

Roasted Chicken. You're welcome.

This morning I went to see my friend Cara for a lovely massage. For whatever reason (it's either the work at the computer or the Strive training at the gym), my back knots up and won't let go. And that makes for a miserable me.

Then Abbie and I headed up north to the big mall in search of a pair of boots for her. The pair she's currently wearing has worn through the heel so badly you can stick your finger in and tickle her foot. It's a drag when it snows. She's already looked in all the shoe stores in Lynchburg and our area, so we tried the huge outlet mall about an hour north of us.

After walking almost two hours and going in every store in the place, we decided we stink at shopping.  We think everything is ugly and overpriced. We left with nothing but a hankering for Chick-fil-A, which we found across the street. After we drowned our sorrows in waffle fries and special sauce and full-calorie, sugar-laden Coke, we drove back to our lowly town and found jeans at Target and Keds at another place. Got a couple of dress shirts for Ben at Kohl's (why am I telling you all this?), and then came home.

In our absence, Man-boy had bought the mother of all leaf-blowers and was entertaining himself piling up leaves from the 5,478 oak trees around our property. The leaf mountains are so high we can't see the street. And I never exaggerate. Never. Not ever.

When we walked in the house, I blessed myself for putting two chickens in the oven this morning before we left. Man-boy said he'd been tormented by the aroma all day and when were we going to eat? So we threw some rice in the rice cooker and had ourselves a feast in 20 minutes. This is the recipe for that roasted chicken I said I was going to share with you the other day.

Mix together in a small bowl:

1 1/2 tablespoons kosher salt
1 tablespoon paprika
1/2 tablespoon onion powder
1/2 tablespoon thyme
1 teaspoon black pepper
1 teaspoon garlic powder

Rinse two whole roasting chickens. (Fryers work, but roasters are better. I don't know why.) Rub them inside and out with the dry rub and put them in a roasting pan with sides. This is important because they'll make a lot of juice. Stuff half a peeled onion in each one.

Bake at 250° for 5 hours, uncovered. I know it sounds like a long time, but trust me. It takes this long to fill the house with the amazing aroma and drive your teenage boy crazy so he is begging for food by the time it's done.

If your family is like mine, they will stand around the bar in the kitchen and tear into the birds, thus saving yourself the trouble of setting the table and cleaning up a bunch of dishes. The leftovers (if there are any) make great enchiladas and all sorts of other casseroles. I always cook two at a time so I have some extra. Amen.

Be thankful ~

Karen

Monday, November 1, 2010

World-famous spaghetti sauce.

Well, at least it's famous in my world. My people won't eat the stuff that comes in a jar, no matter how high-falutin' it is. My mommy taught me how to make real spaghetti sauce when I was just a wee lass, and I've never looked back. My people are now spoiled. Here's how you make the good stuff.

Start by browning a pound of ground beef. When Abbie and Leah are here I use organic. Sometimes I do when they're not here, but only when I can get it on sale. Brown it well, even letting it get a little crispy. You'll smell the difference in flavor.


Here's the rest of what you'll need. Note: the brand of tomato sauce is important. I've tried many others through the years, and have never been satisfied with them. Get Hunt's. And see that quart jar in the back? That's organically grown home-canned tomatoes. They are also a magic ingredient. I have used petite-diced tomatoes in the past though and the sauce is still good. So if your pantry is fresh out of magic, get the canned ones, again Hunt's.


Dice up an onion and throw it in the browned beef with 4 or 5 cloves of garlic, or if you're lazy like I am today, use a big spoonful of the minced stuff in the jar. Then hide the jar quickly.

Add all the tomato stuff along with oregano,


and basil, a little more than the oregano


and a small handful of sugar, maybe 1/8 cup or so.


Stir it all together and let it get happy for a few hours over very low heat. I use a heat diffuser to keep it from burning. You should smell my house right now! If you're really smart, you'll make this early in the week and leave it in the refrigerator until the weekend. You'll be amazed at how much better it is. This will be next Sunday's lasagna.


Enjoy!

Be thankful ~

Karen